The Sad Horn Sewing Stool
In 2008 I purchased my very 1st sewing machine 2nd hand. A beautiful Janome Memory Craft 2000 complete with all the bells and whistles (accessories). I still have it and it has only been serviced once, it is my one and only sewing machine. I love it, such a versatile machine for my creative projects.
So here I was I had this amazing new sewing toy but nowhere to store it and more importantly nowhere to put it when I sew.
My darling husband made it his project to find me the ideal cabinet that would fit our spare room and be functional. Within a couple of weeks I was the proud owner of a Horn sewing cabinet.
But wait, there is more. I didn’t have anything to sit on!
I remember the chair my mother had with her Horn cabinet, it had handy storage under the seat and I wanted one. The problem was Horn no longer made this stool but the did make a seat that is in my opinion more chunky and on casters. This type of seat would not work in the room I would be sewing in.
My darling supportive husband phoned every sewing shop in Sydney and found a place in Castle Hill (a good hike from our home) but did come with a downside. The seat was shop used and now sitting in a basement and there was the uncertainty of what the condition was.
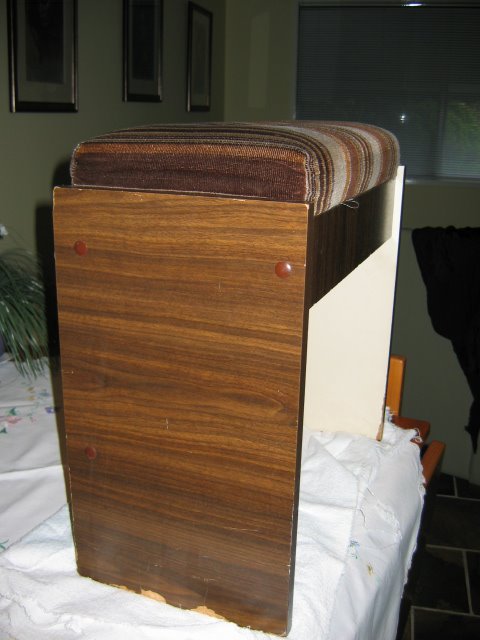
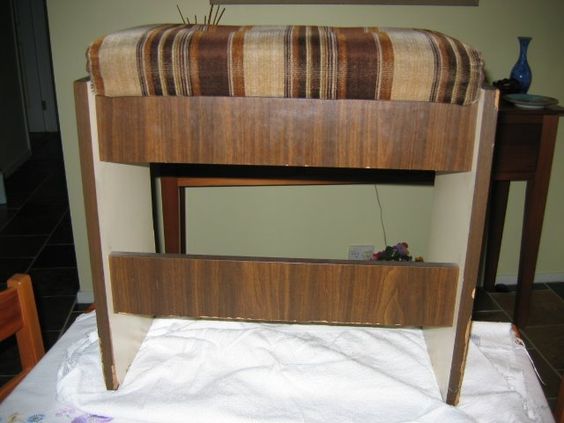
Unpeturbed my hubby hiked out to this sewing shop and grabbed the stool for $50. Oh my, it was a horrible looking seat and water damaged at the bottom causing the chipboard used for the legs to start flaking away.
The solution
The 1st step was to find the “ingredients” to fix the chair. I am bit on recycling and upcycling so I found (and used):
– unused house paint
– bog used to patch up picture frames (I owned a framing business at the time)
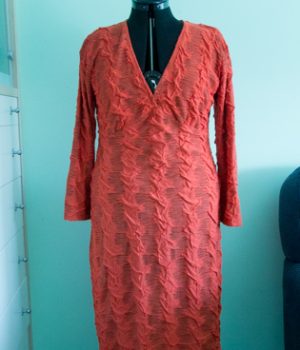
– backed fabric remnant
The process
– I removed the seat lid and threw out the sad looking hinges
– Sanded down the whole seat using a rough then smooth sanding block
– Patched up the bottom of the stool with the framer’s bog. This took quite a while as it was chipboard and had really opened up. So this took a couple of weeks of bogging, drying and sanding until it was well patched up and no longer breaking away.
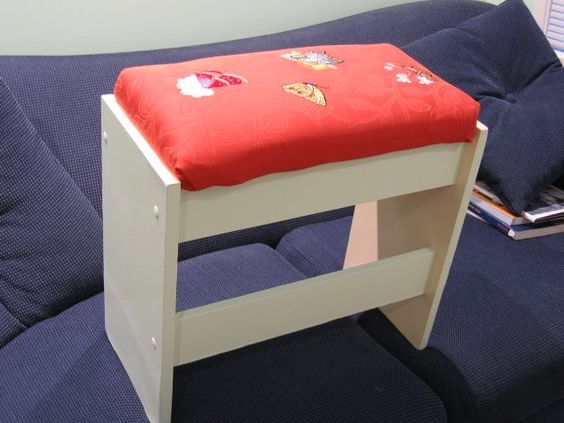
– The stool was then painted with an undercoat then 2 different shades of house paint left over from painting our house.
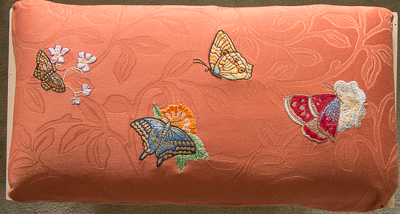
_ The feature of the stool, the seating pad was transformed with embroidery from my lovely sewing machine onto the upcycled bright orange fabric. This was then secured over the precleaned old seat cushion and giving a liberal spray of waterproofing to minimise any stains.
– The seating pad was then secured to the stool with nice shiny new brass hinges.
The result